Updated
—
14 min read
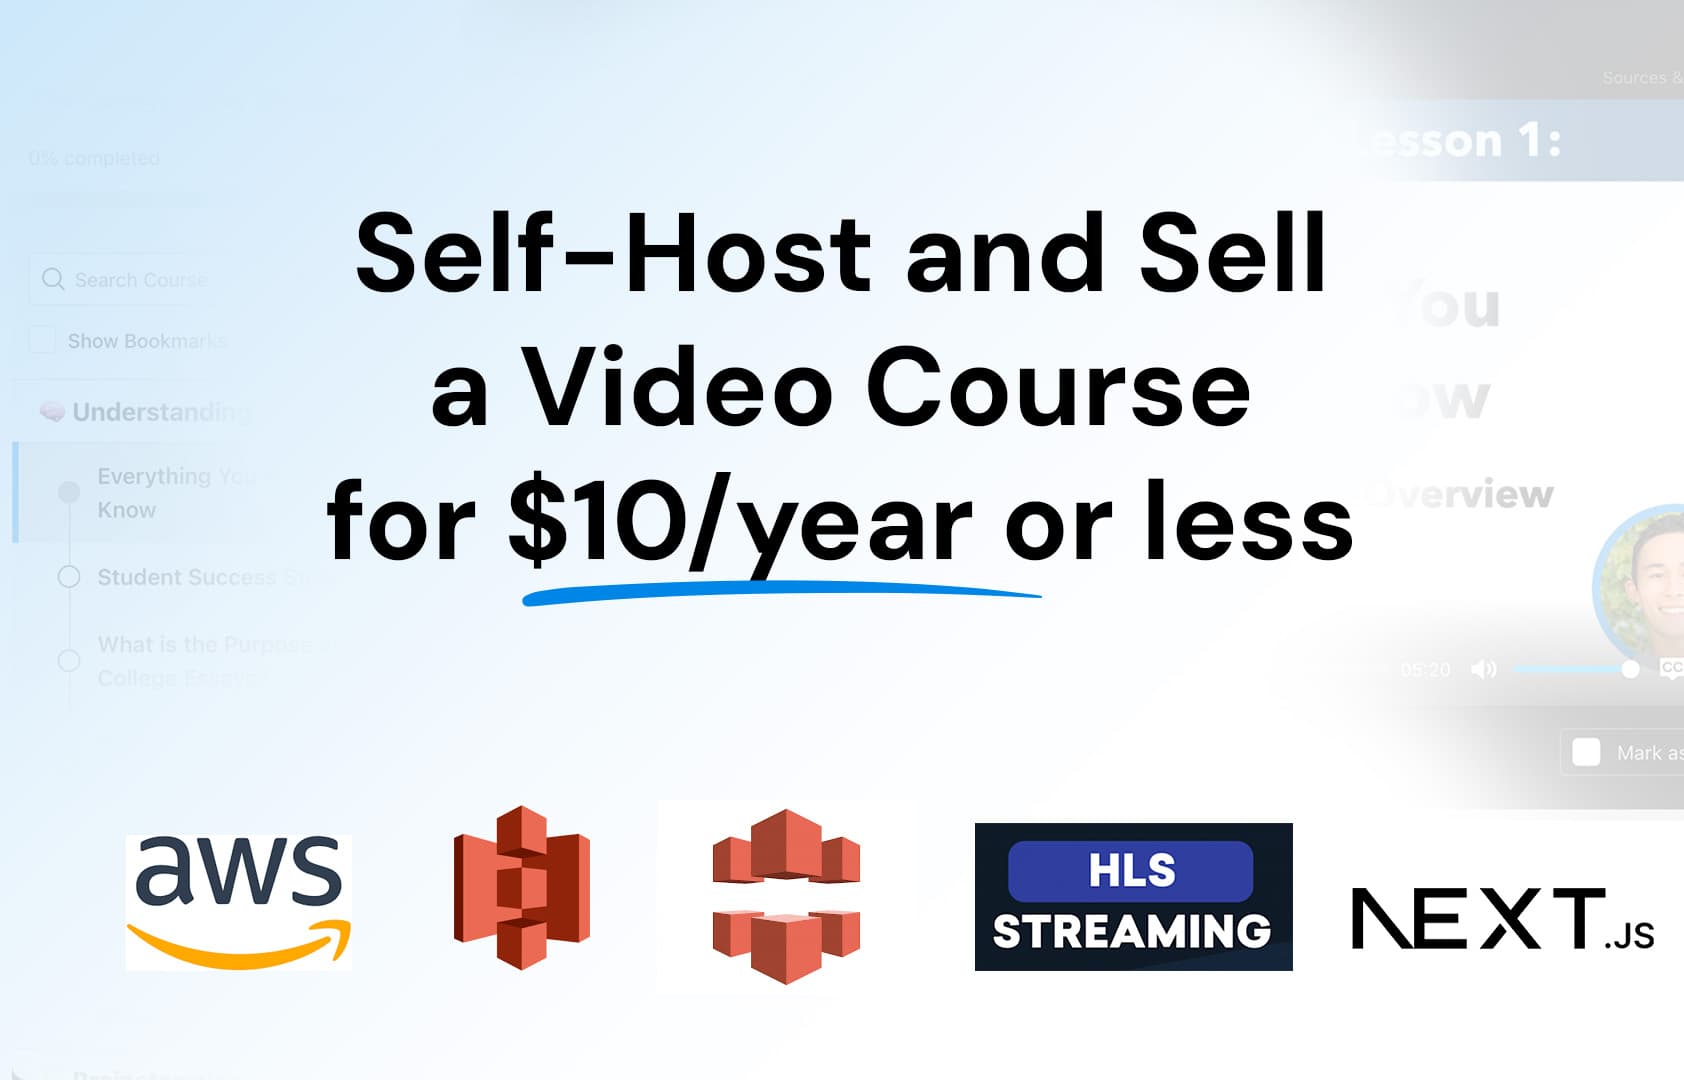
How to Self-Host a Video Course on AWS for $10/year
I've been working on a free video course about my learnings helping students write college admissions essays.
While there's lot of course platforms out there, like Kajabi or Thinkific, what if you want to have full control over your course platform and save on costs?
You can use AWS S3 and Cloudfront to host your video course for cheap, while also giving you full control over the learning experience.
This guide will show you how to host a video course very cheaply, with HLS support using AWS S3 and CloudFront.
How much exactly will you save?
Well, let's put it this way, it costs me less than $10 PER YEAR using this approach.
Compare that to a $149+ monthly subscription for these platforms. You'd easily be saving hundreds if not thousands of dollars a year, even if you add hosting costs.
If you're a developer, building the frontend of a course platform is easy-peasy (Okay, maybe the payment processing and user auth is a pain, but nothing beyond tedious)
The tricky part of self-hosting a video course is getting your videos hosted and streaming properly.
That's what I'm here to show you how to do.
NoteHLS was designed for Apple devices and Apple provides developer tools for HLS, but you can use any OS for this tutorial by using FFmpeg.
This tutorial is also meant for developers with some command line experience and basic AWS knowledge. I'm also using React/NextJS, but you can use whatever frontend framework you want.
Do you want my NextJS video course template for self-hosting?
Just shoot me an email and I'll send you the link. Here's some of the features and preview images (branded for my website, but you'll get the unbranded version):
- Production-ready NextJS + TailwindCSS template
- Video player integration
- Lesson / module organization
- Transcript, subtitles, thumbnails, chapters support
- Course progress tracking
- ...and other helpful features

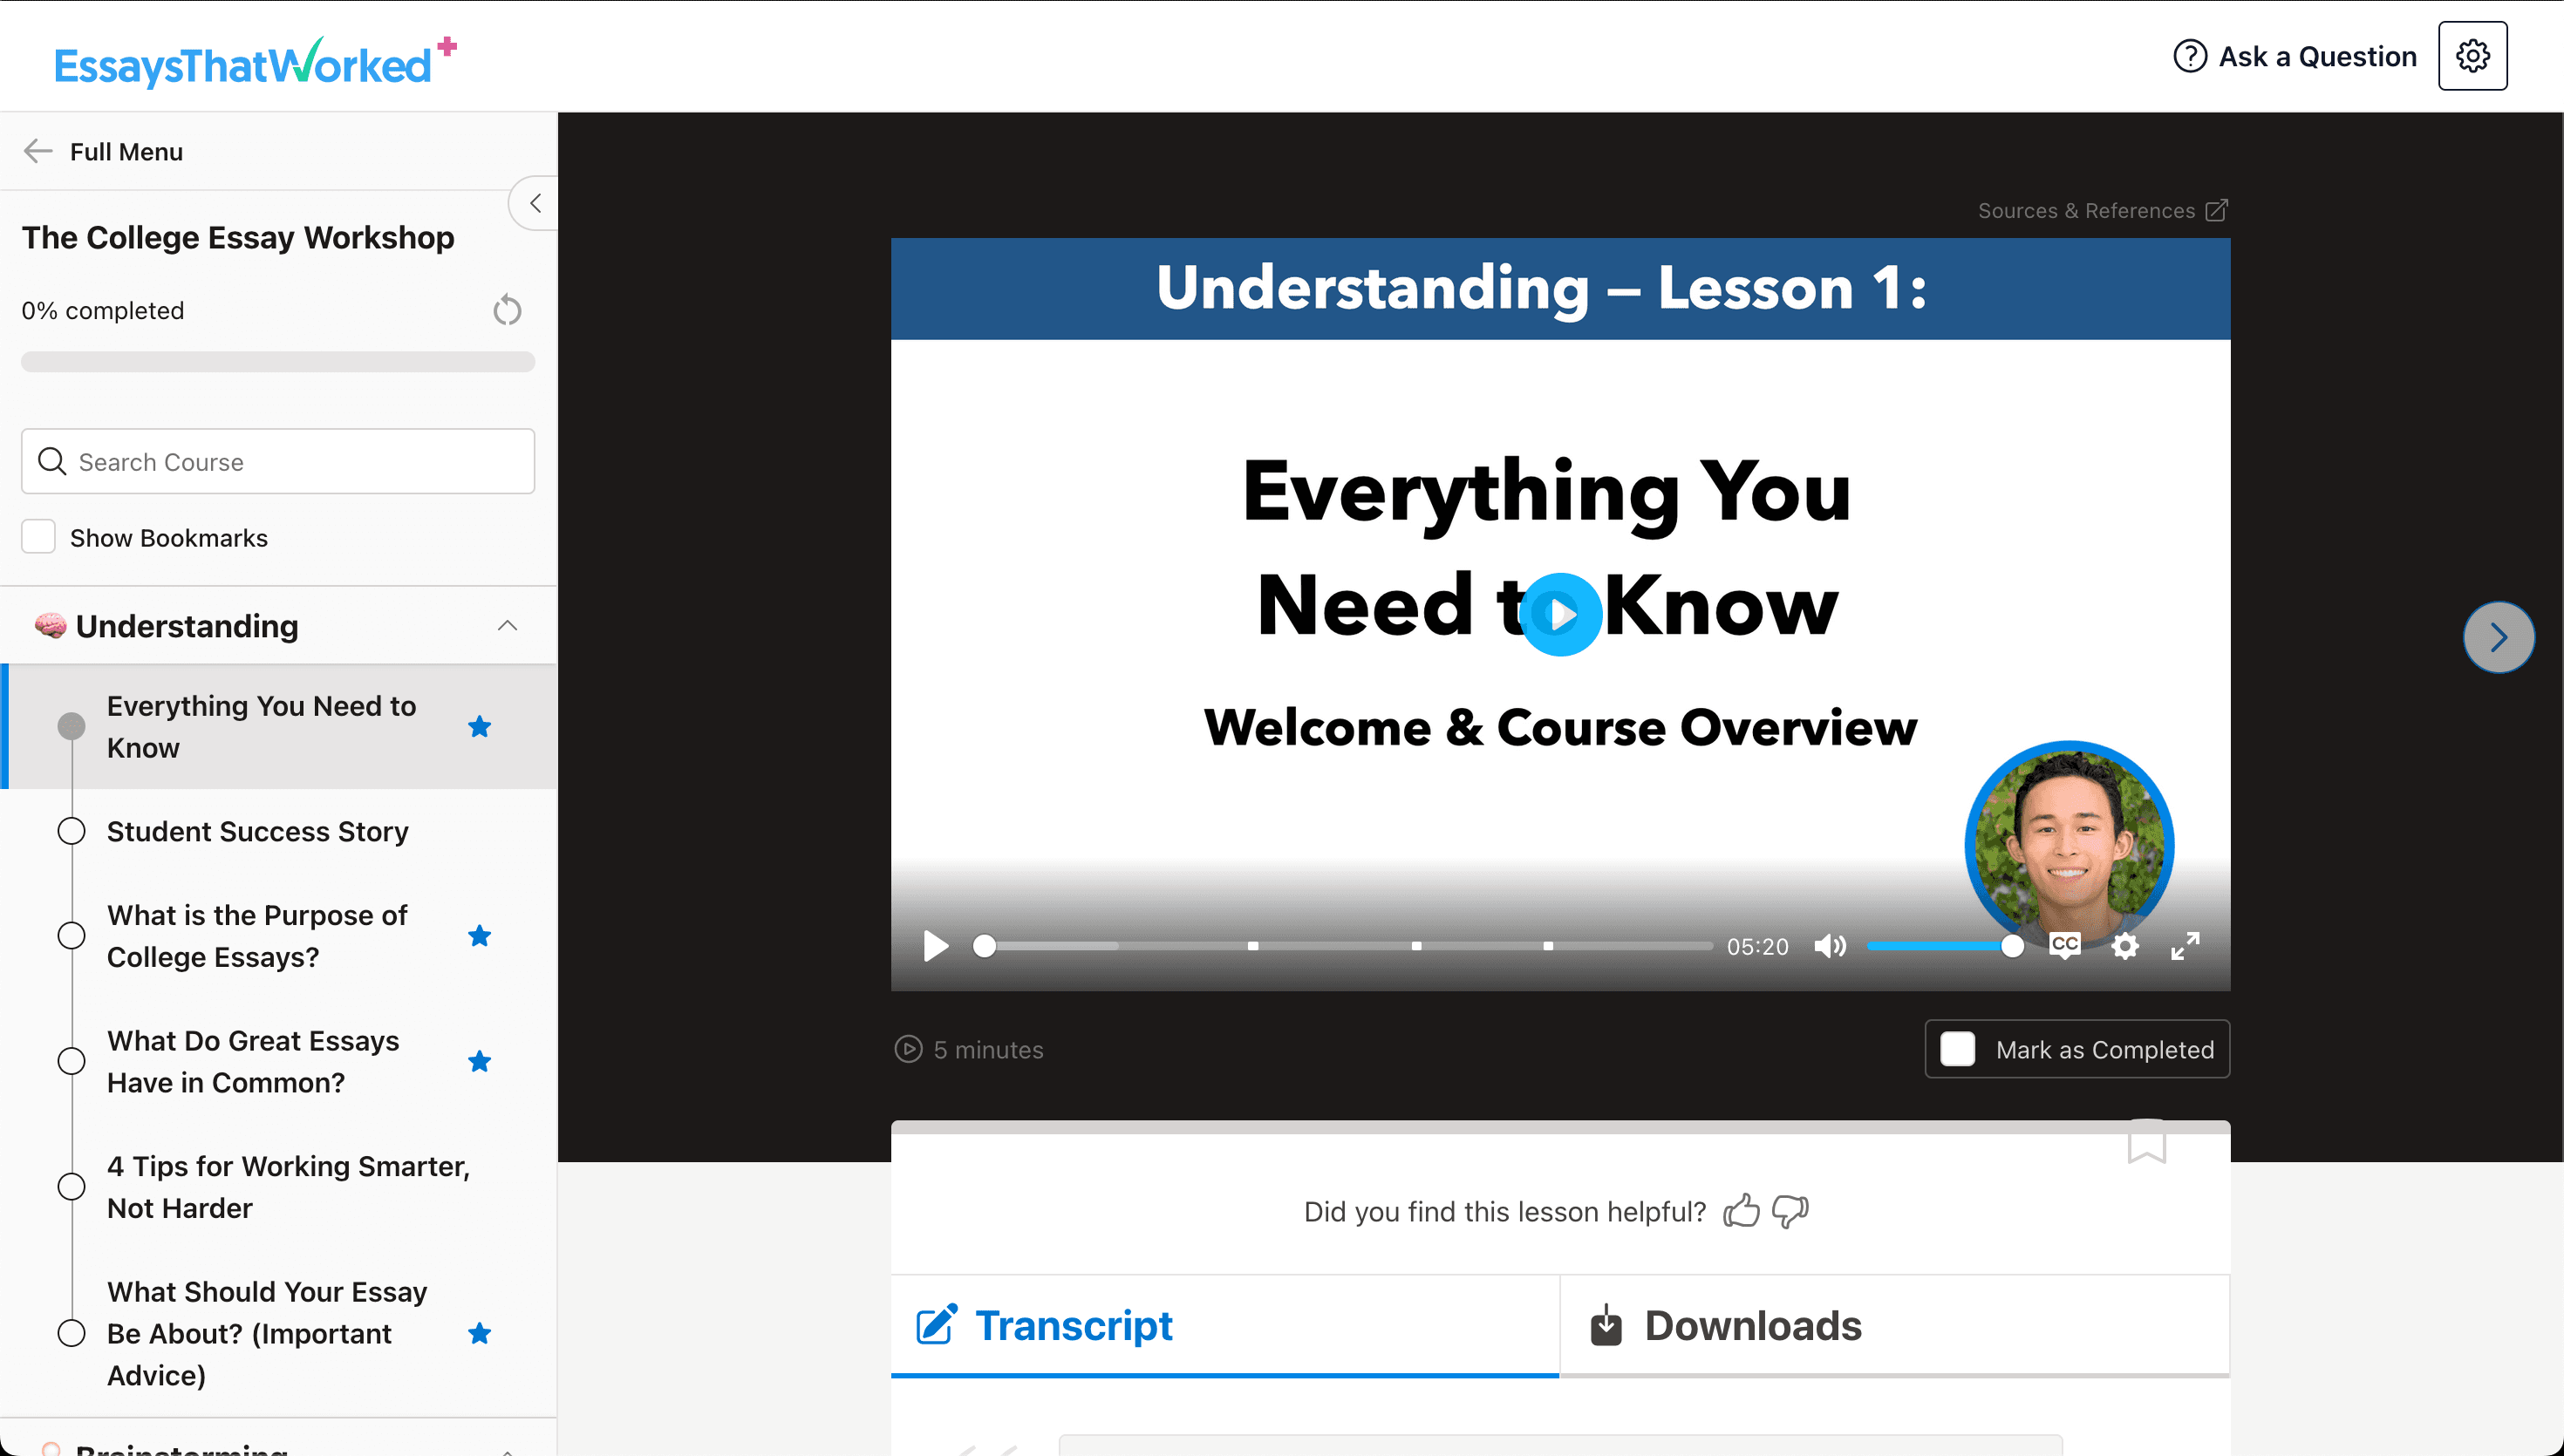
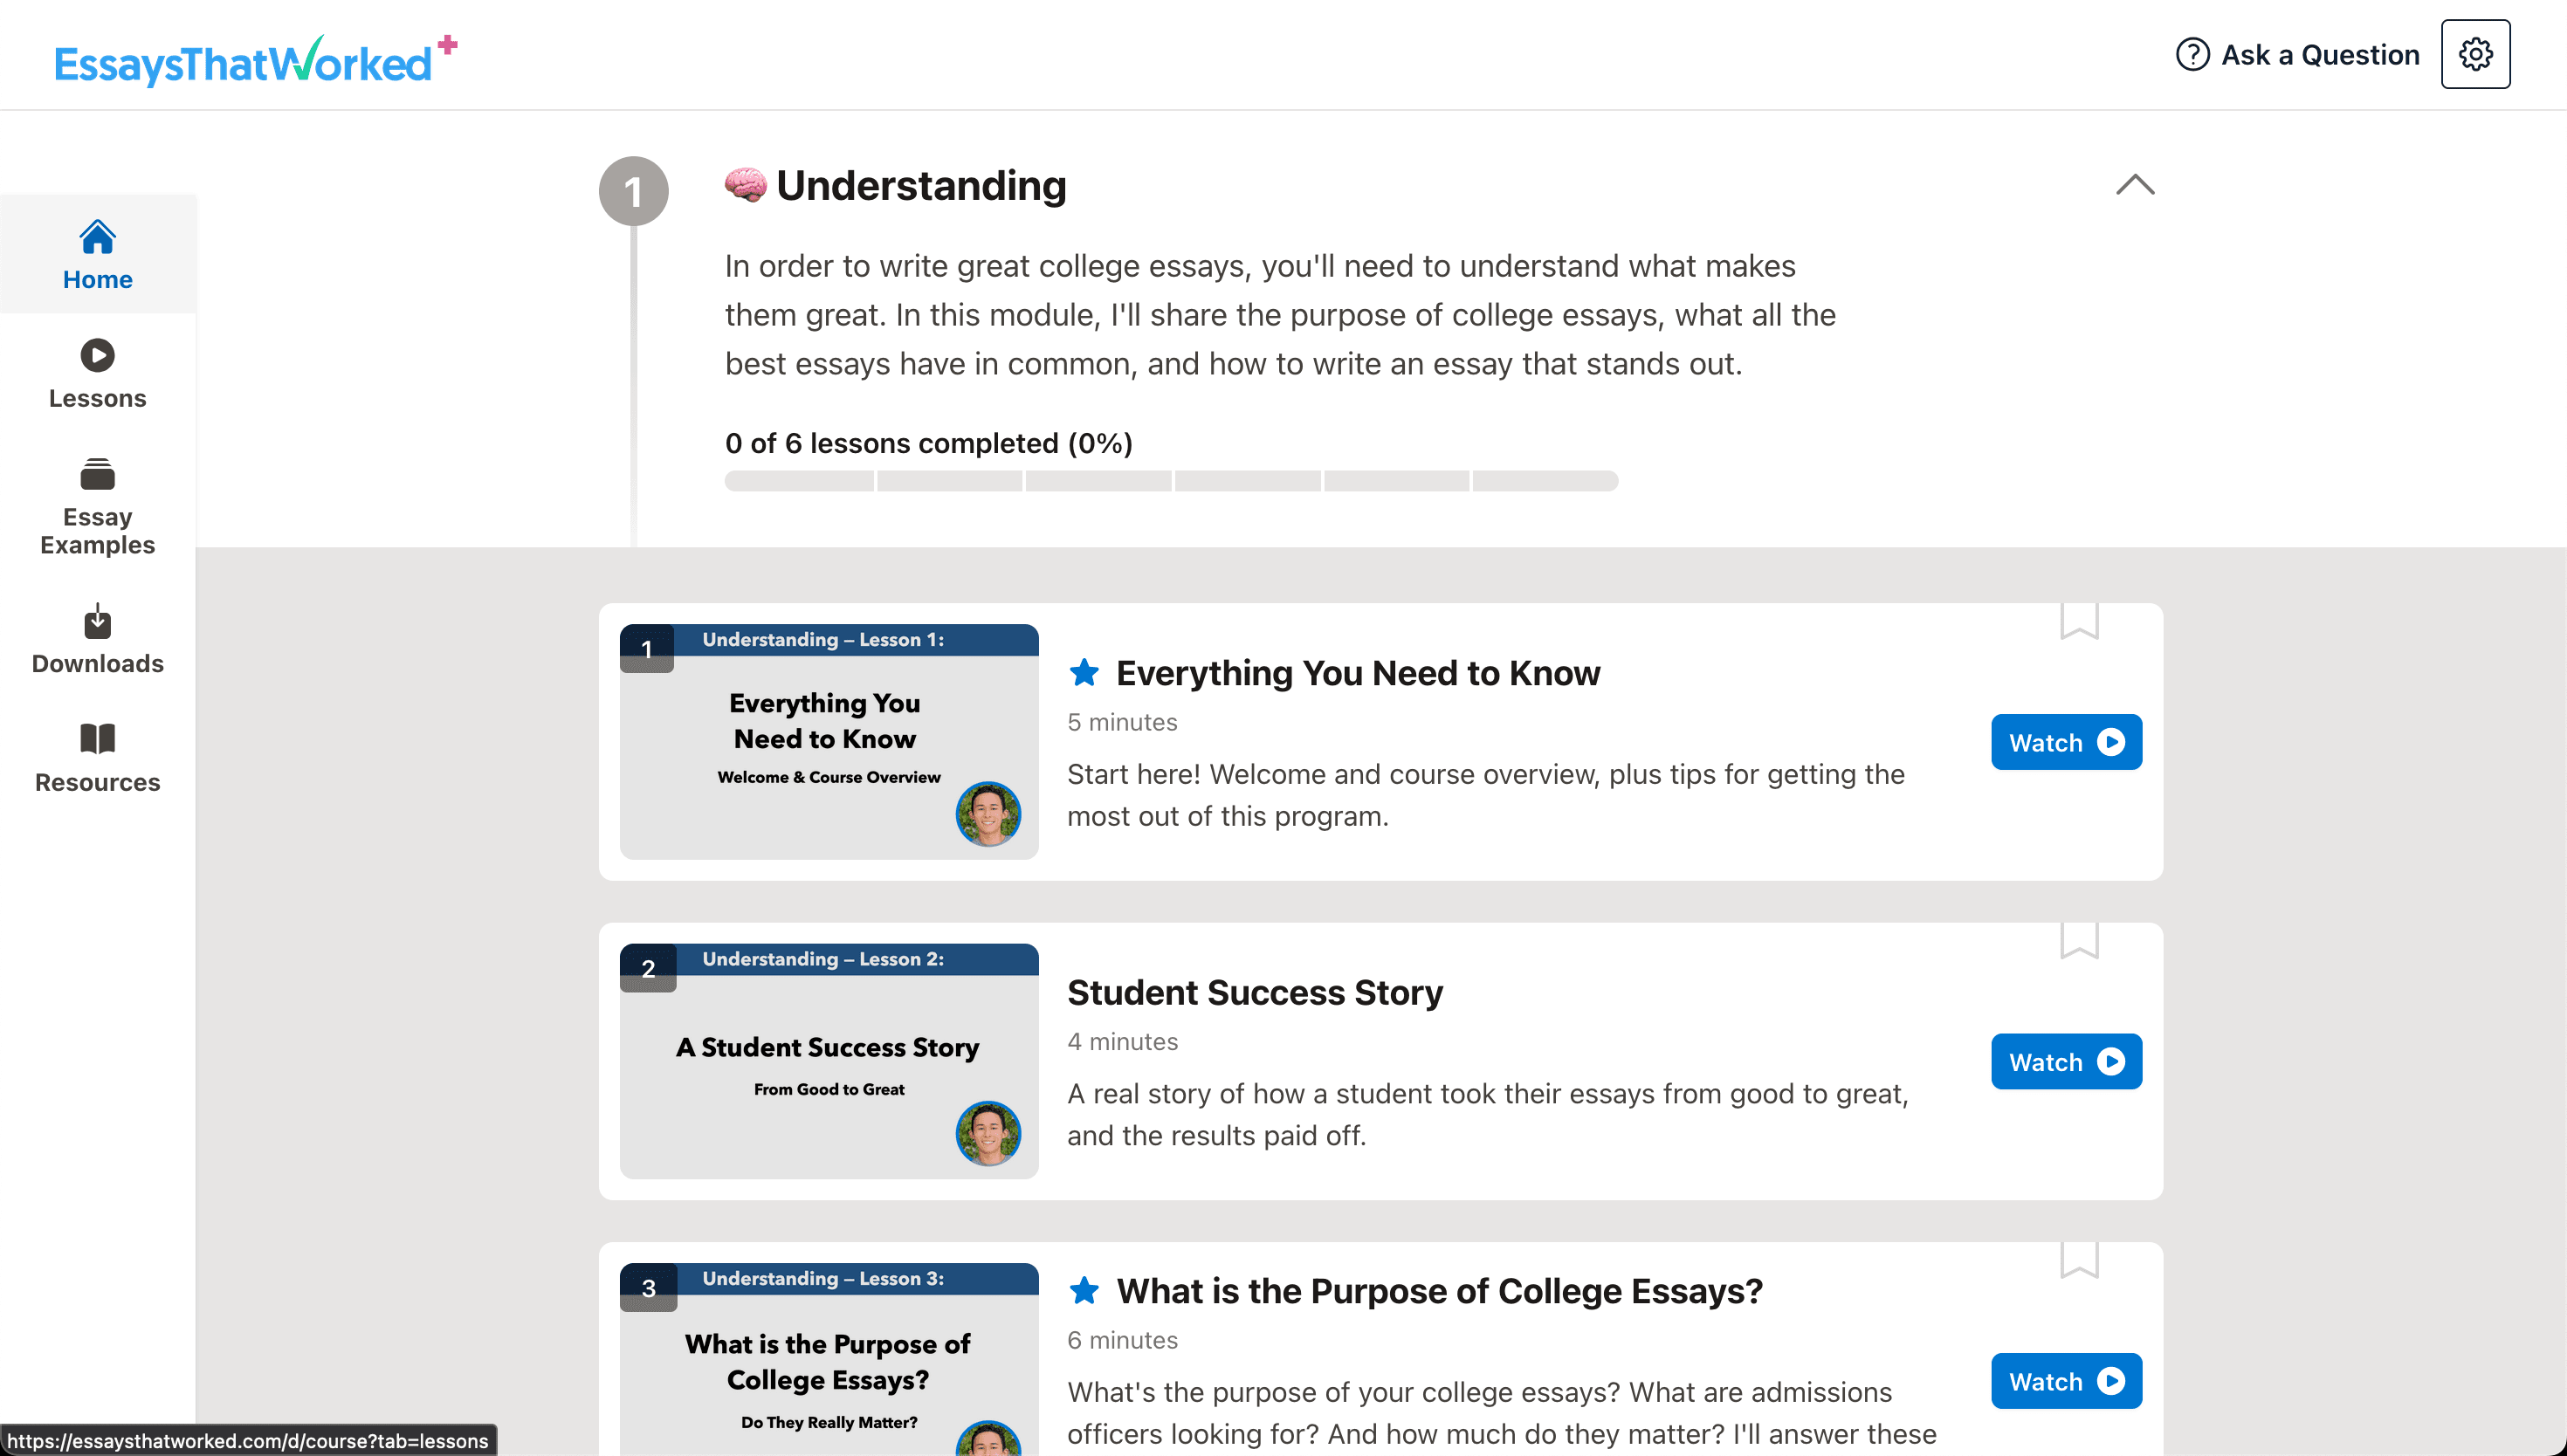
Note: I'm asking you to email me to gauge interest and because it's not public right now. Thanks :)
Overview
Here's the basic steps you'll need to self-host videos on AWS:
- Export videos in highest quality
- Transcode videos into various bitrates and resolutions for HLS
- Create HLS playlist file
- Generate preview thumbnails (optional)
- Generate WebVTT for thumbnails (optional)
- Upload to S3
- Use CloudFront as a CDN
- Configure Plyr and HLS.js to stream videos
Now let's look at each step in detail.
Export your video lessons
Once you've finished editing your videos in whatever software you choose, you'll need to export them.
I'm exporting to MP4 (H.264) at 1080p and 30 FPS.
I'm also using the naming convention of [module number]-[lesson number].mp4 to organize my lessons.
Put all your .mp4 files in one directory, which I'll just call lessons.
/lessons - 01-01.mp4 - 01-02.mp4 - 01-03.mp4 - 01-04.mp4 - 01-05.mp4 - 01-06.mp4 - 02-01.mp4 - 02-02.mp4 ...
What is HTTP Live Streaming (HLS)?
Now, you could just upload your .mp4 files to S3 and then use an HTML web player to link to the video.
But if you try this, you'll probably notice that playback buffers a lot, especially if you're exporting HD videos.
While you could use something like Vimeo to transcode and host your videos, that can cost upwards of $100+ a year.
(Plus, you don't have full control over the learning experience)
(And again, this solution costs me less than $10 a year)
So if you want to self-host HD videos and stream them without buffering, what's the solution?
That's where HTTP Live Streaming (HLS) comes in.
HLS lets you stream videos over the internet so users can watch without buffering.
It streams your video in small chunks, and lets you provide various bitrates (i.e. how much data transmitted) so the streaming can be optimized based on the user's internet connection.
HLS was designed for Apple devices, but nowadays all the modern web browsers support HLS playback.
Why HLS and not DASH?
Dynamic Adapative Streaming over HTTP (DASH) is a universal streaming protocol that's also widely supported.
While DASH and HLS are comparable in many aspects, I chose HLS mainly because its easier to set up and I'm running MacOS which has built-in tools for HLS.
Note: HLS is not codec-agnostic like DASH, so your best bet is using H.264 or H.265 with HLS.
Transcode the videos
Transcoding is how we'll convert your video files into other resolutions and bitrates.
This will let HLS automatically stream the best bitrate and resolution based on the user's network, providing them with a smooth viewing experience.
In my case, I've chosen 4 bitrates: 800k, 1500k, 3000k, and 5000k, which will correspond to the 4 resolutions I want: 360p, 480p, 720p, and 1080p.
To keep things simple, I've chosen just one bitrate for each resolution, which seems to suffice. But you could have multiple bitrates per resolution (e.g. 800k and 1200k for 360p, 1500k and 2250k for 480p, and so on) if you want to improve things even more.
Now we're going to use ffmpeg to transcode our 1080p .mp4 into these resolutions/bitrates.
Download and install ffmpeg if you haven't already.
Now, for each video file:
Create a directory to store the HLS files.
So for first lesson, I'd do: mkdir 01-01
Then, run the following command, and replace [video] with your appropriate video file name (e.g. "01-01"):
ffmpeg -i [video].mp4 -c:v libx264 -preset medium -profile:v main \ -b:v 800k -maxrate 800k -bufsize 1600k -vf "scale=-2:360" \ -c:a aac -b:a 128k -hls_time 10 -hls_playlist_type vod \ -hls_segment_filename "[video]/360p_%03d.ts" [video]/360p.m3u8 \ -c:v libx264 -preset medium -profile:v main -b:v 1500k -maxrate 1500k \ -bufsize 3000k -vf "scale=-2:480" -c:a aac -b:a 128k \ -hls_time 10 -hls_playlist_type vod -hls_segment_filename "[video]/480p_%03d.ts" [video]/480p.m3u8 \ -c:v libx264 -preset medium -profile:v main -b:v 3000k -maxrate 3000k \ -bufsize 6000k -vf "scale=-2:720" -c:a aac -b:a 192k \ -hls_time 10 -hls_playlist_type vod -hls_segment_filename "[video]/720p_%03d.ts" [video]/720p.m3u8 \ -c:v libx264 -preset medium -profile:v main -b:v 5000k -maxrate 5000k \ -bufsize 10000k -vf "scale=-2:1080" -c:a aac -b:a 192k \ -hls_time 10 -hls_playlist_type vod -hls_segment_filename "[video]/1080p_%03d.ts" [video]/1080p.m3u8
This will output four .m3u8 files and several dozen .ts files (which you can think of as the "chunks" of the video).
So your files should look something like this:
/lessons - 01-01.mp4 - 01-02.mp4 ... /01-01 - 360p.m3u8 - 480p.m3u8 - 720p.m3u8 - 1080p.m3u8 - 360p-000.ts - 360p-001.ts - 360p-002.ts - 360p-003.ts - 360p-004.ts - 360p-005.ts - 360p-006.ts ... /01-02 ...
This part of transcoding is tedious, but shouldn't take too long compared to exporting the videos.
You can automate this with a simple Python script, if you'd like.
But using ffmpeg to transcode is generally a pretty quick process.
In my case, it only took about 1-2 minutes per video to transcode.
Next, create the HLS playlist file
The playlist file is a file called playlist.m3u8 (or something similar) that basically tells HLS where all
your .m3u8 files are located and what bitrates they have.
So in each lesson directory, such as 01-01, do the following:
cd 01-01 touch playlist.m3u8
Now, open up each file with vim or nano (or a text editor of your choice) and copy and paste the following:
#EXTM3U #EXT-X-STREAM-INF:BANDWIDTH=1000000,RESOLUTION=640x360 360p.m3u8 #EXT-X-STREAM-INF:BANDWIDTH=2000000,RESOLUTION=854x480 480p.m3u8 #EXT-X-STREAM-INF:BANDWIDTH=4000000,RESOLUTION=1280x720 720p.m3u8 #EXT-X-STREAM-INF:BANDWIDTH=6000000,RESOLUTION=1920x1080 1080p.m3u8
Validate your HLS files
The last step of preparing your videos for HLS is to validate it.
If you're on a Mac, you can install MediaStreamValidator, which is an HLS tool that Apple provides.
Then run:
mediastreamvalidator playlist.m3u8
Hopefully you should get an error that says something like this:
Error: Measured peak bitrate compared to multivariant playlist declared value exceeds error tolerance --> Detail: Measured: 1596.17 kb/s, Multivariant playlist: 2578.15 kb/s, Error: 38.09% --> Source: playlist.m3u8 --> Compare: 480p.m3u8 --> Detail: Measured: 3095.56 kb/s, Multivariant playlist: 4076.57 kb/s, Error: 24.06% --> Source: playlist.m3u8 --> Compare: 720p.m3u8 --> Detail: Measured: 5048.71 kb/s, Multivariant playlist: 6007.27 kb/s, Error: 15.96% --> Source: playlist.m3u8 --> Compare: 1080p.m3u8
It's telling us that the playlist.m3u8 bitrates don't match the measured bitrates and are too far off.
This is to be expected.
Now, open back up playlist.m3u8 and change the BANDWIDTH= values to match the measured bitrates.
So given that the measured bitrate of the 480p.m3u8 was 1596.17 kb/s, I'd change the
line: BANDWIDTH=1596170,RESOLUTION=854x480
Now run the MediaStreamValidator again to make sure its error-free now:
mediastreamvalidator playlist.m3u8
It should just output something like this:
-------------------------------------------------------------------------------- 1080p.m3u8 -------------------------------------------------------------------------------- HTTP Content-Type: audio/mpegurl Processed 32 out of 32 segments Average segment duration: 9.957292 Total segment bitrates (all discontinuities): average: 2709.73 kb/s, max: 5048.71 kb/s Playlist max bitrate: 5048.710000 kb/s Audio Group ID: AUDIO Discontinuity: sequence: 0, parsed segment count: 32 of 32, duration: 318.633 sec, average: 2709.73 kb/s, max: 5048.71 kb/s Track ID: 1 Video Codec: avc1 Video profile: Main Video level: 4 Video resolution: 1920x1080 Video average IDR interval: 7.150758, Standard deviation: 1.780712 Video frame rate: 30.000 Track ID: 2 Audio Codec: AAC-LC Audio sample rate: 48000 Hz Audio channels: 2 Audio channel layout: Stereo (L R) -------------------------------------------------------------------------------- CAUTION -------------------------------------------------------------------------------- MediaStreamValidator only checks for violations of the HLS specification. For a more comprehensive check against the HLS Authoring Specification, please run hlsreport on the JSON output.
Generate preview thumbnails
Another thing I wanted my videos to have is preview thumbnails for when you scrub over the timeline.
You know? Like on Youtube videos when you hover over and can see what that part of the video looks like.
I'll be using Plyr as my HTML video player (more on that later), which supports these preview thumbnails.

To make these preview thumbnails, we'll need to generate images for each second of the video.
So if your video is 3min 19sec, we need 199 thumbnails.
Luckily, we can also use ffmpeg to accomplish this.
Create a new directory to store thumbnail images
cd 01-01 mkdir thumbnails
Then, go back to the lesson videos directory where your .mp4 files are.
cd ../
Generate thumbnails with ffmpeg
Run this command, but replacing 01-01 with your video file/directory name:
ffmpeg -i 01-01.mp4 -vf "fps=1,scale=356:200" 01-01/thumbnails/%d.jpg
I've chosen thumbnail dimensions of 356x200px, since my videos are in 16:9 resolution.
The standard thumbnail dimensions is 178x100px, but I found this slightly blurry so I scaled it up by 2x.
You can choose whatever dimensions you want, but I think this is an optimal dimensions because it creates small files while still looking crisp.
Now for each lesson you should have something like this:
/01-01 - playlist.m3u8 - 360p.m3u8 - 480p.m3u8 - 720p.m3u8 - 1080p.m3u8 - 360p_000.ts - 360p_001.ts - 360p_002.ts ... /thumbnails - 1.jpg - 2.jpg - 3.jpg - 4.jpg - 5.jpg - 6.jpg ... ...
Generate the WebVTT for thumbnails
There's one last step, which is creating thumbnails.vtt file.
This is a WebVTT file that tells the video player where each thumbnail image is meant to show up on the timeline.
It looks something like this:
WEBVTT 1 00:00:00.000 --> 00:00:01.000 1.jpg#xywh=0,0,356,200 2 00:00:01.000 --> 00:00:02.000 2.jpg#xywh=0,0,356,200 3 00:00:02.000 --> 00:00:03.000 3.jpg#xywh=0,0,356,200 ...
Notice how xywh=0,0,356,200 matches the thumbnail dimensions; that's the "bounding box" for the thumbnail image.
So you can crop or re-position if needed, but the full thumbnail is usually fine.
To generate this thumbnails.vtt file automatically, you can use my simple Python script here:
https://github.com/ryanschiang/thumbnail-vtt-py
git clone https://github.com/ryanschiang/thumbnail-vtt-py.git python3 /path/to/thumbnail-vtt-py/generate_vtt.py /lessons/01-01/thumbnails /lessons/01-01/thumbnails/thumbnails.vtt
The generate_vtt.py script takes arguments like so:
python3 generate_vtt.py [path_to_thumbnails_directory] [path_to_thumbnails_vtt_output]
Once you've run this command, it should automatically generate a thumbnails.vtt file in your 01-01/thumbnails
directory.
So now, your video directory should look like:
/01-01 - playlist.m3u8 - 360p.m3u8 - 480p.m3u8 - 720p.m3u8 - 1080p.m3u8 - 360p_000.ts - 360p_001.ts - 360p_002.ts ... /thumbnails - thumbnails.vtt - 1.jpg - 2.jpg - 3.jpg - 4.jpg - 5.jpg - 6.jpg ... ...
We're ready to host on S3!
Upload video files and thumbnails to S3
Now, login to the AWS Console, or create your account if you haven't already.
Create a new S3 bucket
Navigate to S3 and create a new bucket to store all your course files.
In the bucket, create a folder for each lesson, such as 01-01.
In each lesson folder, create a thumbnails folder.
Upload files
Now, you'll just want to upload all the .m3u8 and .ts files for each lesson into its corresponding lesson directory
on S3.
Similarly, you'll want to upload all the .jpg thumbnails as well as thumbnails.vtt into the thumbnails folder
nested within the lesson directory.
Set up CloudFront as a CDN
Now we'll use CloudFront as a CDN to cache the videos and improve performance.
Create a new distribution, and for the origin, select the S3 bucket you've just created.
You should now get a domain name for your distribution like:
[whatever].cloudfront.net
Or whatever it is.
Configure Plyr to use HLS
I'm going to be using Plyr, but you could use Video.js, JWPlayer, or any other video player of your choice.
I like Plyr because it is lightweight, supports preview thumbnails, chapter timestamps, and you can configure it to use HLS.
First, install plyr and hls.js:
npm install plyr npm install hls.js
Then include the Plyr stylesheet:
<link rel="stylesheet" href="https://cdn.plyr.io/3.7.8/plyr.css"/>
Now create a video tag which will be the video player:
<video id="player" playsInline/>
Now let's configure HLS to work with Plyr:
// config const source = "https://[whatever].cloudfront.net/01-01/playlist.m3u8"; // Source of playlist file const thumbnailsVtt = "https://[whatever].cloudfront.net/01-01/thumbnails/thumbnails.vtt"; // Preview thumbnails VTT const video = document.querySelector("#player") as HTMLVideoElement; // default Plyr options const defaultOptions: Plyr.Options = { previewThumbnails: { enabled: true, src: thumbnailsVtt, }, speed: { selected: 1, options: [0.5, 0.75, 1, 1.25, 1.5, 1.75, 2], } }; // check if browser supports HLS if (!Hls.isSupported()) { video.src = source; new Plyr(video as HTMLElement, defaultOptions ) ; } else { const hls = new Hls(); // load playlist file hls.loadSource(source); hls.on(Hls.Events.MANIFEST_PARSED, () => { // set qualities const availableQualities = hls.levels.map((l) => l.height); availableQualities.unshift(0); // prepend 0 to quality array for auto option // add new qualities to options defaultOptions.quality = { default: 0, // Auto options: availableQualities, forced: true, onChange: (e: number) => updateQuality(e), }; // add Auto label defaultOptions.i18n = { qualityLabel: { 0: "Auto", }, }; // display the auto-chosen quality in the options hls.on(Hls.Events.LEVEL_SWITCHED, (event, data) => { var span = document.querySelector(".plyr__menu__container [data-plyr='quality'][value='0'] span"); if (span) { if (hls.autoLevelEnabled) { span.innerHTML = `Auto (${hls.levels[data.level].height}p)`; } else { span.innerHTML = `Auto`; } } }); // initialize the Plyr player new Plyr(video, defaultOptions); }); hls.attachMedia(video); window.hls = hls; } // helper function to update quality on user change function updateQuality(newQuality: number) { if (newQuality === 0) { window.hls.currentLevel = -1; // enable Auto quality if option.value = 0 } else { window.hls.levels.forEach((level, levelIndex) => { if (level.height === newQuality) { // store quality level in window state window.hls.currentLevel = levelIndex; } }); } }
If you're using React like I am, you can wrap this in a useEffect to run on component mount.
From there, you just set up the video player element and optionally add a custom "poster image" (AKA a thumbnail image that shows before the video is played):
export const EmbedVideo: React.FunctionComponent<{ videoId: string }> = ({videoId}) => { const source = `https://[whatever].cloudfront.net/${videoId}/playlist.m3u8`; const thumbnailsVtt = `https://[whatever].cloudfront.net/${videoId}/thumbnails/thumbnails.vtt`; const posterImage = `/static/course/posters/${videoId}.jpeg`; useEffect(() => { const video = document.querySelector(`#player-${videoId}`) as HTMLVideoElement; /** * Plyr code from above goes here */ }) return ( <video id={`player-${videoId}`} data-poster={posterImage} className="w-full h-full"/> ) }
Wrapping up
And that's it!
Now you should have a video player with:
- 4 resolutions and bitrates (with auto-quality)
- Playback speed options
- Preview thumbnails
- HLS support
...all while hosting on AWS S3 and CloudFront to save tremendously on costs.
From here, you can build out your frontend UI to display the course content and integrate with your payment processor and user auth.
Let me know if you have any questions or feedback on what I could improve in this process.
Do you want my NextJS video course template for self-hosting?
Just shoot me an email and I'll send you the link. Here's some of the features and preview images (branded for my website, but you'll get the unbranded version):
- Production-ready NextJS + TailwindCSS template
- Video player integration
- Lesson / module organization
- Transcript, subtitles, thumbnails, chapters support
- Course progress tracking
- ...and other helpful features
Note: I'm asking you to email me to gauge interest and because it's not public right now. Thanks :)
Join my newsletter for lessons, experiments, and failures in bootstrapping online businesses.
Sign up if you're curious. I’ll only email you if it's actually good.

Meet the Author
Ryan Chiang
Hello, I'm Ryan. I build things and write about them. This is my blog of my learnings, tutorials, and whatever else I feel like writing about.
What I'm currently building →.